Getting started
This page provides installation instructions for the LiteX build system on Linux. This tutorial is intended for Xilinx FPGA users.
Arty A7
This project targets the Arty A7 development board, which houses a Xilinx 7-series FPGA. The smaller variant (A35T) is sufficient, and can be purchased from electronic suppliers like Digikey and Mouser for about €110. Both the software and gateware on this device can be programmed via USB.
Xilinx Vivado
Vivado is a commercial design and synthesis tool. The LiteX build system uses this sofrware as a backend to generate bitstreams for Xilinx FPGAs. This section is a summary of this Wiki. Please reference that page if problems occur.
Installation
- Create an installation directory with:
sudo mkdir /opt/Xilinx sudo chown $USER:$USER /opt/Xilinx - Create a Xilinx account here.
- Download a Linux self-extracting installer for Vivado here. This tutorial is based on version 2018.2, but newer versions may also work.
- Unpack the installer with
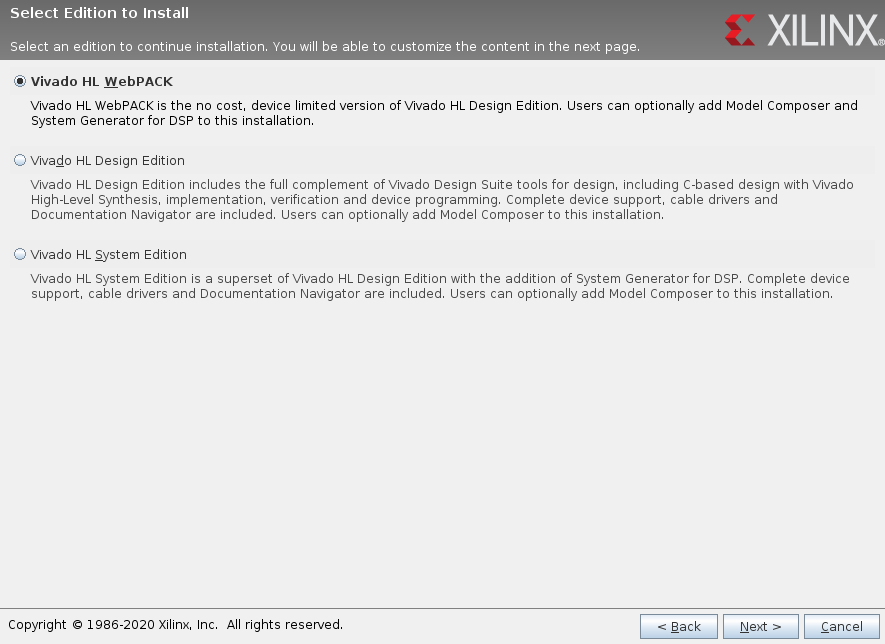
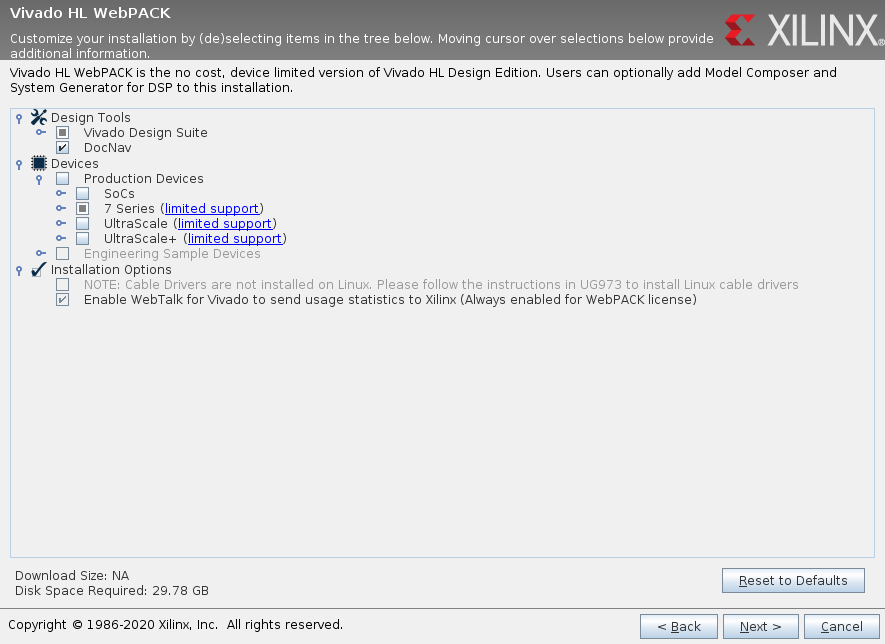
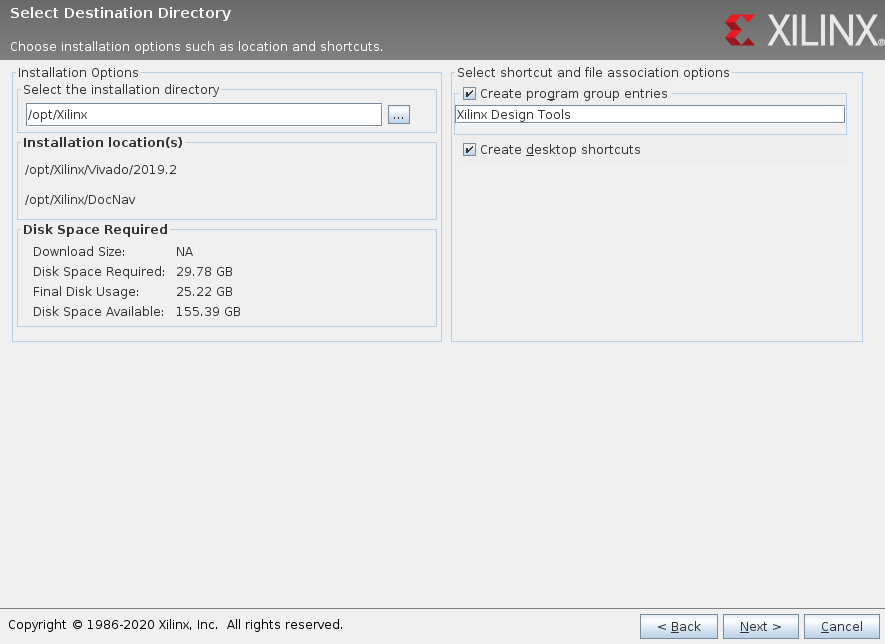
tar -xvf, runchmod +xon the extracted.binfile and start the installer. - Customize the installation according to the screenshots shown below.
Running
It should now be possible to run Vivado from the command line. First, run source /opt/Xilinx/Vivado/2018.2/settings64.sh (substituting your Vivado version), then run vivado. Consider adding the first command to your ~/.bashrc, as it is required by the LiteX build system after every new login. The Vivado GUI itself is rarely, if ever, needed when working with LiteX.
LiteX
LiteX is an open-source Python-based SoC builder. A thorough description and getting started guide is available in that project’s own repository.
Dependencies
One of the LiteX dependencies is Verilator, which should be installed from source, not using apt on Ubuntu, because this will install an earlier version and may cause build errors. To install the latest version:
sudo apt install git make autoconf g++ flex bison
git clone http://git.veripool.org/git/verilator
unsetenv VERILATOR_ROOT  # For csh
unset VERILATOR_ROOT  # For bash
cd verilator
autoconf
./configure
make
sudo make install
We also recommend building OpenOCD from source for the same reason:
sudo apt install libtool libusb-1.0.0-dev
git clone https://git.code.sf.net/p/openocd/code openocd
cd openocd
git checkout v0.10.0
./bootstrap
./configure --enable-maintainer-mode --enable-ftdi
make
sudo make install
Then, configure your udev rules so OpenOCD can connect to the board:
wget -O 60-openocd.rules https://sf.net/p/openocd/code/ci/master/tree/contrib/60-openocd.rules?format=raw
sudo cp 60-openocd.rules /etc/udev/rules.d
sudo udevadm control --reload
Setup
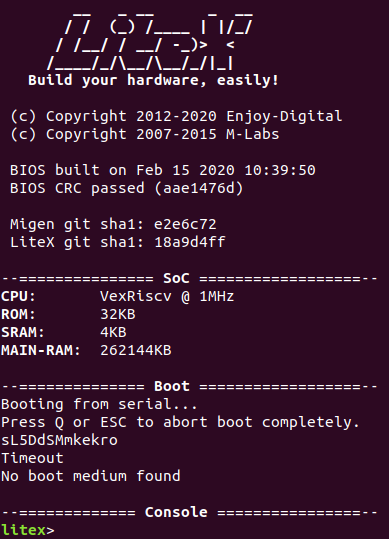
We recommend following the quick start guide in the LiteX README. The LiteX setup script will clone several repositories to the current directory, so it is best to start with a containing folder (e.g., mkdir ~/litex). After completing the instructions, the ~/litex directory should then contain several repositories beginning with lite*, which are SoC peripherals, and pythondata-cpu-*, which contain third-party RTL source code. Test the installation with lxsim --cpu-type=vexriscv. This should run the LiteX emulator and bring up a BIOS prompt.
Building
Navigate to ~/litex/litex-boards/litex_boards/targets. This directory contains several Python scripts for building LiteX SoCs on different FPGAs. Run ./digilent_arty.py --help for a complete list of build options for the Arty A7. With the FPGA connected to the host computer, run ./digilent_arty --build --load to build and load a design with default settings. (This will take several minutes.) This method does not overwrite NVRAM, so the design will not persist after reset. A synthesis report with hardware utilization statistics will be saved to build/arty/gateware. Once flashed correctly, the LEDs on the board should be flashing in sequence. You can connect with lxterm /dev/ttyUSB0, which should bring up the LiteX BIOS seen above.
Debugging
It’s possible to debug software running on the SoC via USB or Ethernet using wishbone-tool. Debug support must be enabled in LiteX for this to work.